📣 2022 UPDATE: It is now possible to create custom objects from the HubSpot UI. Go to Settings ⚙️ > Objects > Custom objects and click the orange "Create custom object" button
YAY! HubSpot finally announced Custom objects functionality (and a bunch of other cool stuff) at INBOUND2020!
Custom objects let you store whatever information you want to keep alongside HubSpot standard objects (Contacts, Companies, Deals, Tickets, Products and Tasks) and associate them together in whatever relation you need to map your business processes in HubSpot CRM.
Everyone is excited about Custom objects since Chris O’Donnell, Chief Product Officer at HubSpot, announced them, BUT (there is always a but) business people (non-developers) are disappointed that you can’t create Custom objects from HubSpot UI. You need to create them through an HTTP request to the HubSpot API. It is kind of a bummer since HubSpot products have always empower business people (sales, marketing, service, etc.) to create and manage things without IT’s help. HubSpot will certainly allow Custom object creation from the UI sooner or later, but in the meantime, people who don't have access to a developer are stuck with this good news they were waiting for a long time. Or, are they really stuck?
Fortunately, I have found a way to create custom objects without coding or a developer’s help. This post will guide you step-by-step on doing this by yourself even though you don't know anything about back-end programming. Here it goes!
WARNING
Before creating a first custom object in your portal, I would strongly recommend watching Kyle Jepson's session "Data in HubSpot: Custom Objects and Other Tools" in the HubSpot Academy. It will help you understand when to create a custom object and when it is best suited to use another HubSpot functionality (like CRM Extension, Timeline Events, Custom properties, etc.)
Psst... If you don't fear my terrible french Canadian accent, you can watch this video I recorded of me creating a custom object:
Step 1: Visit the Developer Documentation for Custom Objects
I can hear you from your home or office: "Developer Documentation? But it says without coding in the post title" Yes! Trust me. You won't need to code.
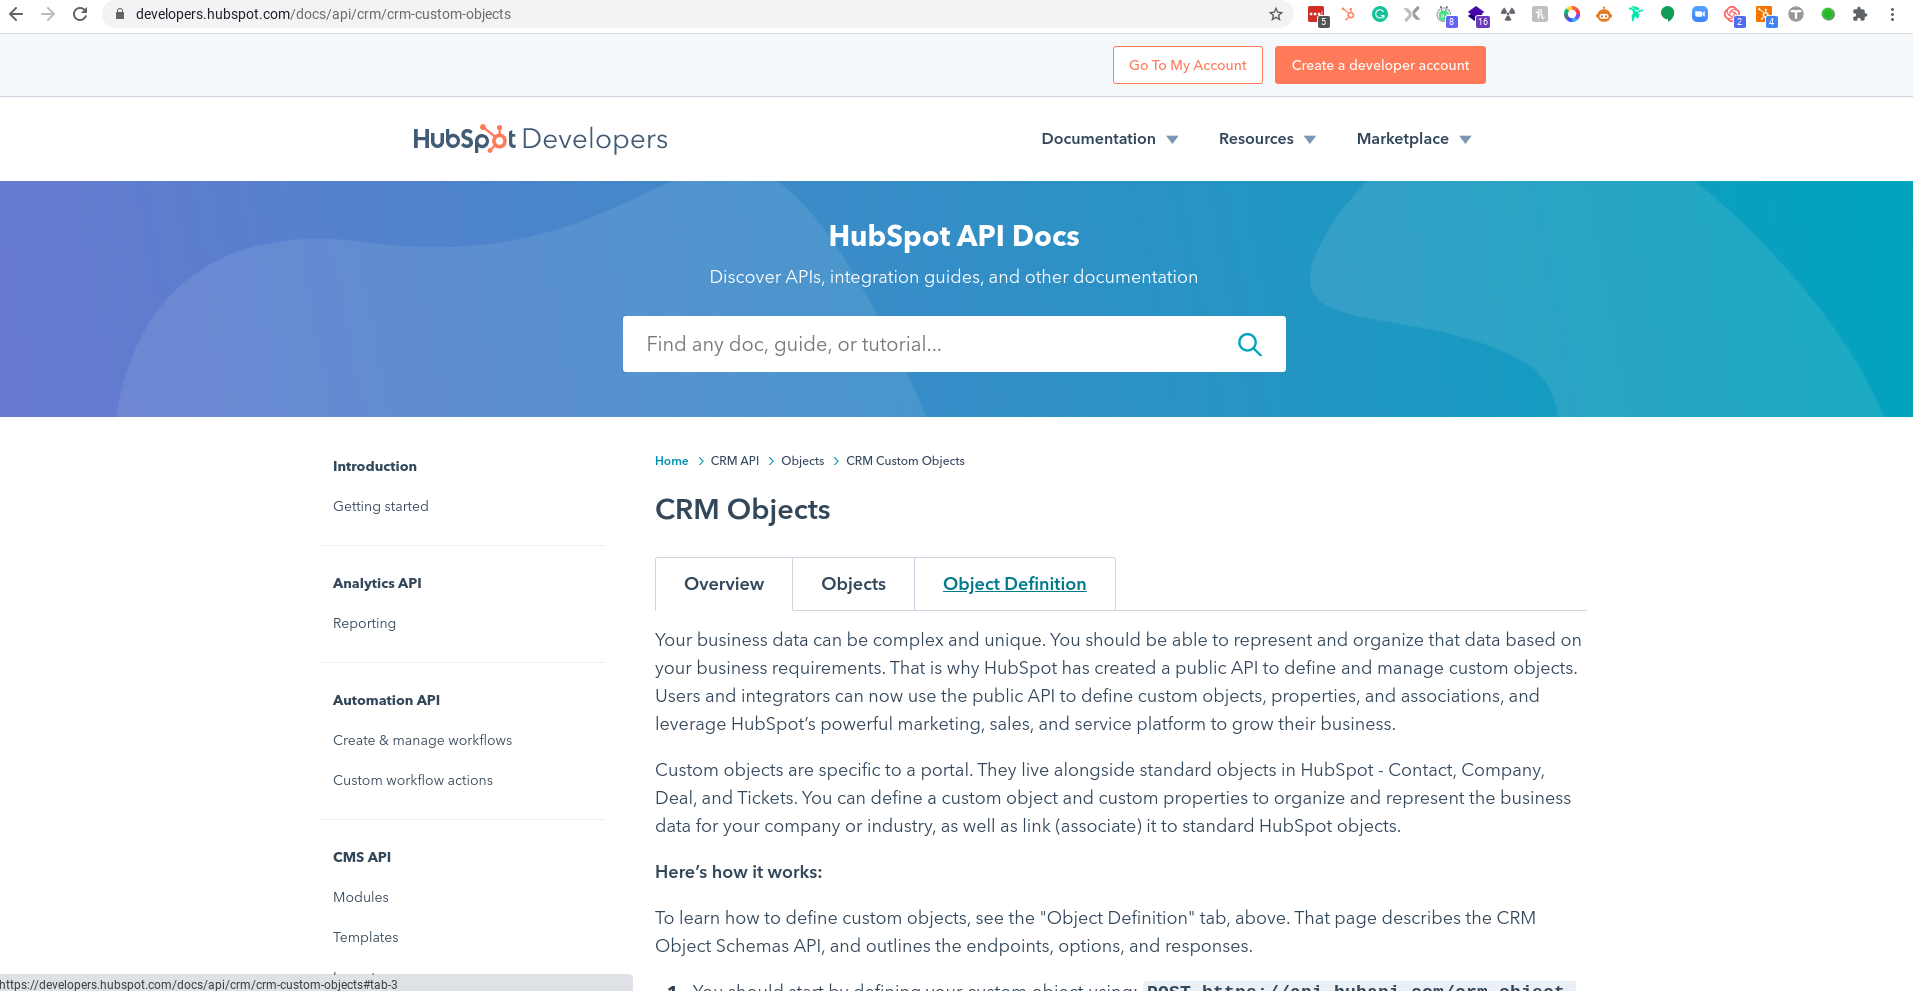
So, visit the following URL: https://developers.hubspot.com/docs/api/crm/crm-custom-objects and don't fear that you will see lines of code that maybe you won't understand. Keep calm!
Once you are on the page, click on the "Object Definition" tab. You will see other lines of code. Again, keep calm. You won't need to use them.

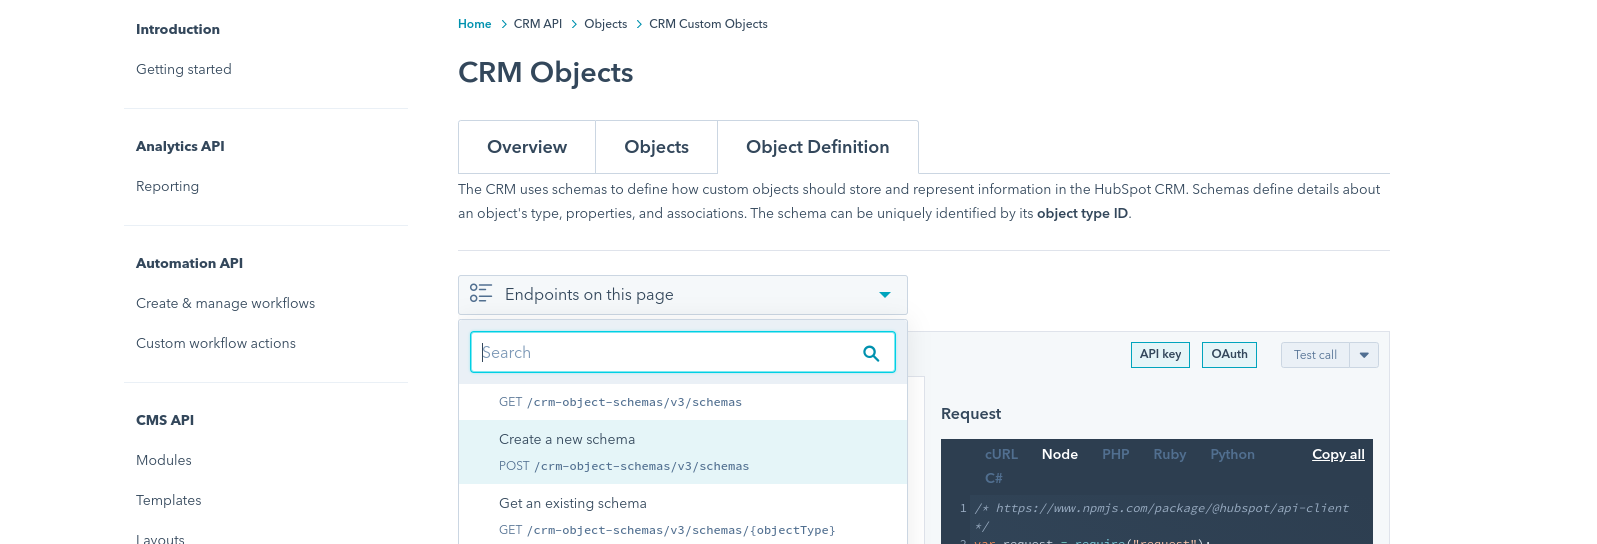
Step 2: Create a New Schema Request Using the User-friendly Wizard
Use the Dropdown to scroll to the "Create a new schema" documentation.
Once you get there, fill up the fields on the left-hand side with the information relevant to the custom object you want to create.
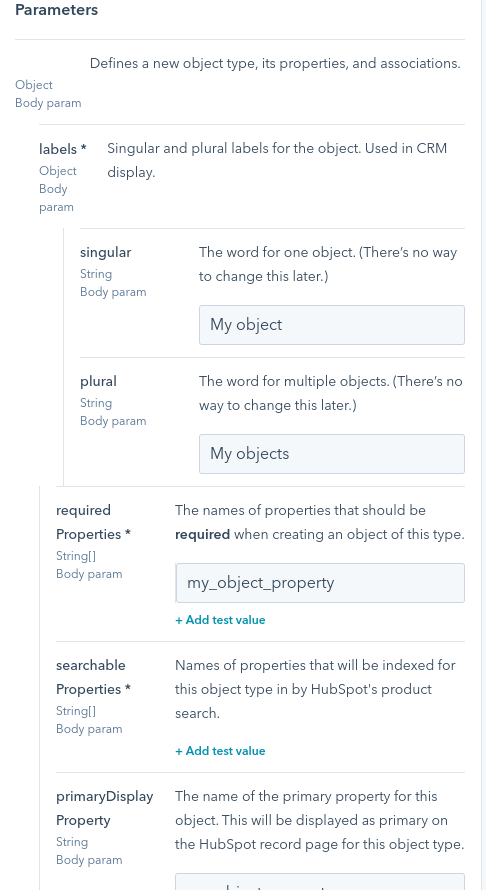
Take your time to read all the descriptions for each field so you can create what you want.
Also, make sure to create all the properties you indicate in the "required properties" and "searchable properties.” If you don't create a property to match the properties you indicate on those fields, your request will end up with an error, and the object won't be created. That being said, you don't need to create all the properties you need from that wizard. You will be able to create them from the HubSpot UI like you would do for any other objects after you successfully create your custom object.
📌 Tips: Clean up your HubSpot CRM in a few steps
Step 3: Create and Get your HubSpot API key
The HubSpot Knowledgebase already covers this, so I will send you that way:
How do I get my HubSpot API Key
Step 4: Run your Request from the Developer Documentation Wizard
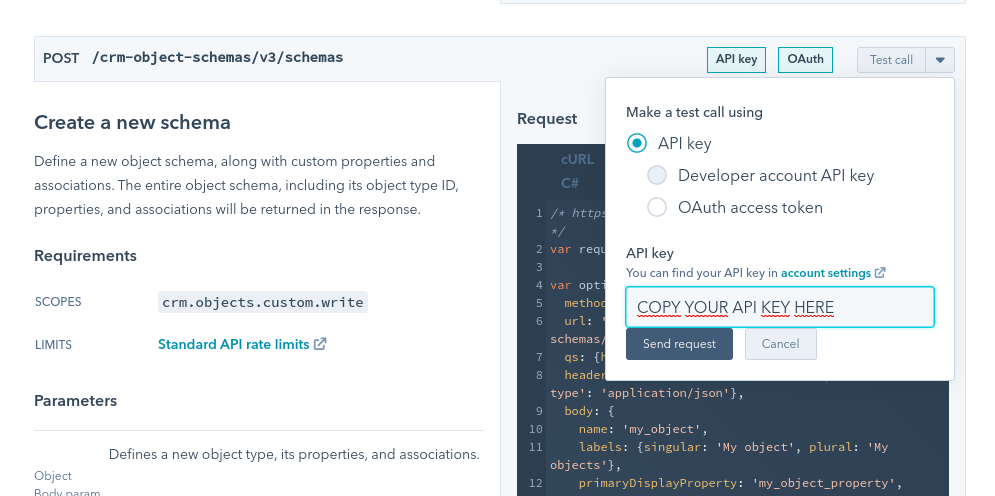
With your HubSpot API key in hand, you are just one step away from creating your first custom object!
You need to click on the "Test call" button alongside the "Create new schema" subtitle, copy your API key in the field and then hit "Send request."
Step 5: Checking the Server Response to Your Request
I won't give you a full course on server response here, but knowing the basics will help you find out if your request succeeds, and at the same time if your custom object has been created or not.
|
Error code |
What it means |
What you need to do |
|
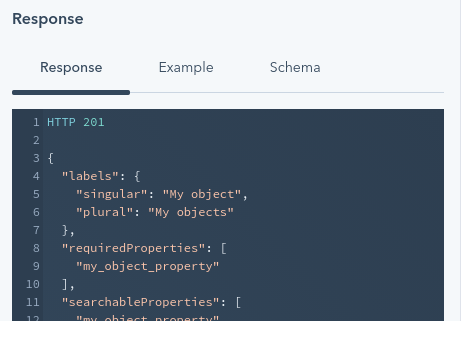
2** |
Success |
Go to your portal to see your new custom object |
|
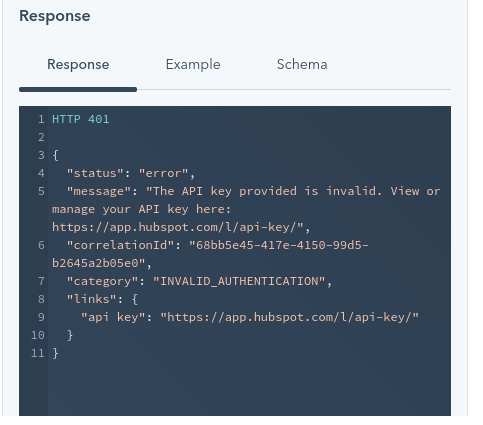
4** |
Bad request - you made a mistake in your request |
You will have a message explaining what you did wrong. Go over the fields in the wizard again to see if:
|
|
5** |
Server error - HubSpot's server encountered an error |
Retry in a few minutes |
An example of a bad request response:
An example of a success response:
That's it! I hope this post helped you create your first custom object without the help of a developer! If you need the help of a developer anyway or a HubSpot expert to help you go further with custom objects, do not hesitate to use the comment section below or contact us.
Happy HubSpotting!


.jpg?width=352&name=save-on-hubspot-pricing%20(2).jpg)

Comment this article